 Written and reviewed by Dr. Vaishnavi Karmawat, B.V.Sc. & A.H., Registered Veterinary Practitioner
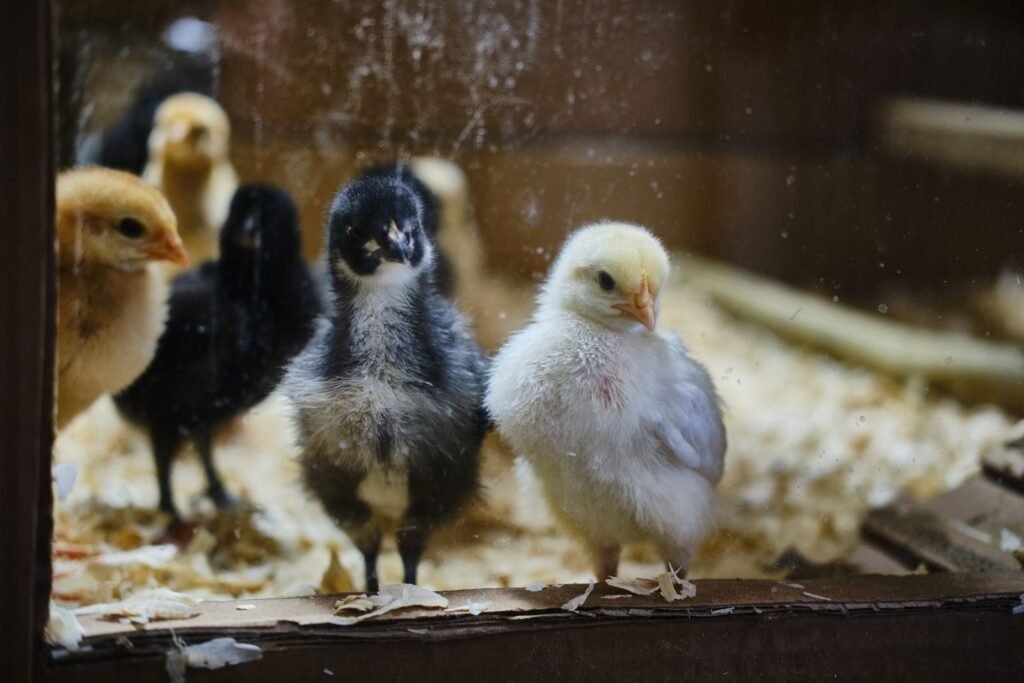
Most chick deaths in Indian poultry farms happen in the first 14 days, and almost all of them come from brooding mistakes: chicks that are too cold, too hot, thirsty, or on wet litter. A day-old chick cannot control its own body temperature for the first 2 weeks. If you get brooding right, first-week mortality can stay below 1 to 2%.
In this article
- 24 hours before the chicks arrive
- Brooding temperature chart
- Read the chicks: the behaviour chart
- Arrival water: jaggery (gud) and electrolytes
- Yolk sac absorption and early feeding
- Pasty butt (vent pasting) prevention
- Day-1 to Day-14 schedule
- Litter care
- Frequently asked questions
- Related Articles
- References
24 hours before the chicks arrive
- Clean and disinfect the shed and let it dry fully.
- Spread paddy husk (rice hull) litter 2 to 3 inches deep in winter, 2 inches in summer.
- Cover the litter with newspaper for the first 3 days, so chicks do not eat husk and can find feed easily. Scatter some feed on the paper.
- Set up the chick guard ring: a circle of cardboard or tin sheet 1.5 feet high, 5 to 6 feet across for about 250 to 300 chicks. It keeps chicks near heat, feed and water and stops corner piling.
- Hang the heat source in the centre of the ring (hover placement): infrared bulbs, an electric brooder, a gas brooder or a charcoal bukhari.
- Pre-heat the shed for 24 hours so the floor and litter are warm when chicks arrive.
- Fill drinkers an hour before arrival so the water is at room temperature.
Brooding temperature chart
| Age | Temperature at chick level (under the brooder edge) |
|---|---|
| Day 1 to 7 | 95°F (35°C) |
| Day 8 to 14 | 90°F (32°C) |
| Day 15 to 21 | 85°F (29°C) |
| Day 22 to 28 | 80°F (27°C) |
Reduce the temperature by about 5°F (3°C) each week until it matches the room temperature.
Read the chicks: the behaviour chart
You can tell if the temperature is right even without a thermometer, by looking at how chicks spread out under the heat.
| What you see | What it means | What to do |
|---|---|---|
| Chicks spread evenly in the ring, some eating, some sleeping, soft cheeping | Temperature is right | Nothing |
| Chicks huddled tightly under the heat source, loud distress chirping | Too cold | Lower the bulb, add a bulb, or close draughts |
| Chicks far from the heat, at the edges, panting with open beaks and drooping wings | Too hot | Raise the bulb or remove one bulb |
| Chicks crowded on one side of the ring | Cold draught from the other side | Block the draught; check curtains |
Infrared bulb vs gas brooder: use about one 250-watt infrared bulb (or two 100-watt bulbs) per 100 to 150 chicks in winter. Hang bulbs about 18 inches above the litter on Day 1, raising them 2 to 3 inches each week. A gas brooder or bukhari heats more chicks evenly but needs ventilation to remove fumes; never let charcoal smoke stay in the shed.
Arrival water: jaggery (gud) and electrolytes
- Before giving feed, let chicks drink for the first 2 to 3 hours.
- Mix jaggery (gud) at about 50 g per litre of water, or glucose with electrolytes, for the first day. It gives quick energy after the journey.
- Dip the beak of a few chicks in the water so others follow.
- From Day 2, add vitamins and electrolytes for 3 to 4 days.
Yolk sac absorption and early feeding
A chick hatches with its yolk sac, which feeds it for the first day and gives it important antibodies. Early access to feed and water helps the yolk sac absorb properly. Chicks that do not drink and eat early often develop yolk sac infection (omphalitis) and die in the first week. Give chick starter crumbs within 4 to 6 hours of arrival.
Pasty butt (vent pasting) prevention
Pasty butt is when droppings stick to the chick’s vent and block it. It is caused by chilling, overheating, or stress.
- Keep the temperature right.
- Check vents daily in the first week.
- Gently clean blocked vents with warm water and a cotton ball, and dry the chick.
Day-1 to Day-14 schedule
| Day | Lighting | Drinker | Feeder space |
|---|---|---|---|
| 1 to 3 | 23 hours light, 1 hour dark | Chick drinkers on the floor, 1 per 50 chicks | Feed on newspaper and chick trays, 1 tray per 100 chicks |
| 4 to 7 | 22 hours light | Raise drinkers slightly on a brick | Add small feeders; remove newspaper on Day 4 |
| 8 to 10 | 20 hours light | Drinker lip at chick back height | 2.5 cm feeder space per chick |
| 11 to 14 | 18 hours light, then reduce gradually | Drinker lip at chick back height; increase drinkers | 4 to 5 cm feeder space per chick; widen the chick guard ring |
Expand the chick guard ring every 2 to 3 days and remove it after about 7 to 10 days in summer or 14 days in winter.
Litter care
- Remove wet litter near drinkers daily.
- Rake the litter lightly from Day 5.
- Keep a little ventilation even in winter to remove ammonia.
🩺 Dr. Vaishnavi’s Clinical Picks (Available on Amazon India)
Equipment I suggest for backyard and small poultry farms.
Keeps litter dry and cuts feed wastage
As an Amazon Associate, I earn from qualifying purchases. This costs you nothing extra.
Frequently asked questions
What temperature do day-old chicks need?
About 95°F (35°C) at chick level in the first week, reducing by 5°F each week.
How high should the brooder bulb be?
About 18 inches above the litter on Day 1, raised 2 to 3 inches each week, adjusted by chick behaviour.
Why are my chicks dying in the first week?
Usually chilling or overheating, no water or feed early, yolk sac infection, pasty butt, or wet litter.
How long do chicks need brooding?
About 2 weeks in summer and 3 to 4 weeks in winter.
Starting a new batch? Contact Dr. Vaishnavi Karmawat for a brooding checklist.
Related Articles
References
- Aviagen. Broiler Management Handbook. 2018.
- FAO. Small-scale poultry production. FAO Animal Production and Health Manual No. 1. Rome; 2004.
- ICAR-Directorate of Poultry Research, Hyderabad. Rural poultry varieties and package of practices.
More on Poultry
CRD in Chickens: Winter Breathing Sounds, Treatment, and Curtains
Hearing ghur-ghur sounds in your flock? Learn poultry respiratory disease CRD and sound problem treatment in winter, ammonia control & antibiotic protocols.

Bird Flu (Avian Influenza) in Chickens: Signs and Prevention
Learn the signs of bird flu in chickens and ducks, what to do if birds start dying suddenly and simple biosecurity steps…